
The Raspberry Pi is a great platform for running Kali Linux. In fact, Kali actually makes a version specifically for the Raspberry Pi. In this tutorial we'll go over choosing the right version of kali to download, and how to flash it to a micro sd card. This tutorial will work for the Raspberry Pi 2, 3, 4, and the 400. This tutorial will also work for other compatible linux distros, such as Parrot OS, and Ubuntu.
To get started we will need two things, the Kali file, and a program to flash it to an sd card. Lets start with choosing the right version of Kali to download. Head over to kali.org and click on Download.

Once you get to the downloads page you'll see a few different options. For the Raspberry Pi you'll want to choose the ARM version.

You'll notice that there are both 32-bit and 64-bit versions. Techniqually you will get better performance from the 64-bit version, but the 32-bit version has been avilable longer and is better tested. I perfer using the 32-bit version and in my experience it has been extremely stable. Choose the one that suits you and click on it to download.
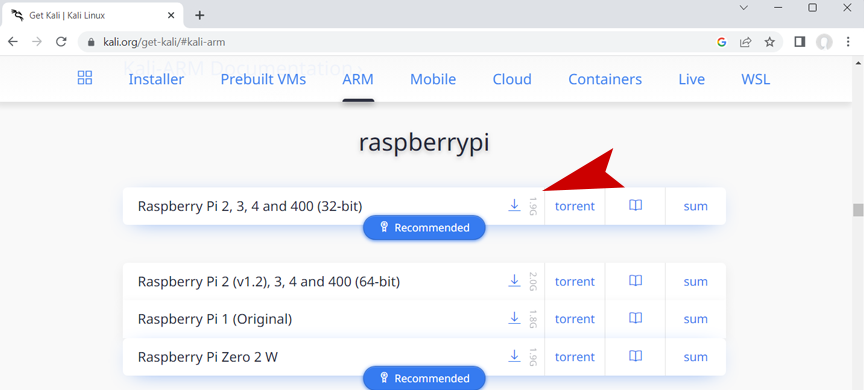
You'll notice that the download will be saved with a ".img.xz" file extention. This may look a little odd but it is the correct format for a linux image that can be flashed. Now that we have the linux image we are going to flash, we need a program to actually flash it onto an sd card. Luckly, there are some free programs that will do it for us. BalenaEtcher is a free open source program for flashing, and it's available for Windows, Linux, and Mac. Visit balena.io/etcher and download the version for your operating system.

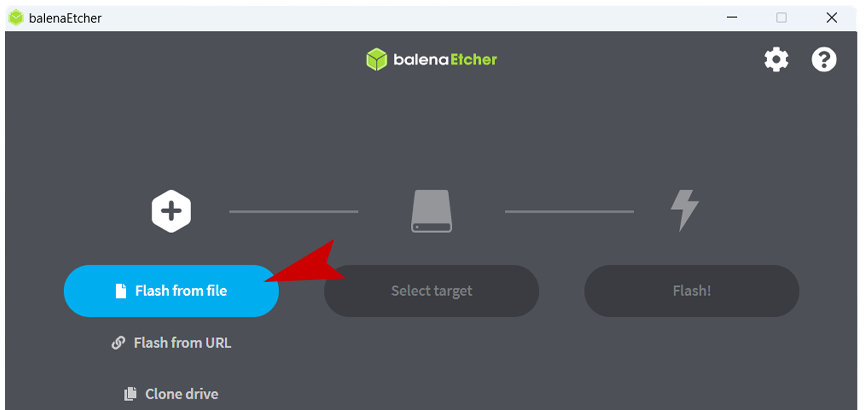
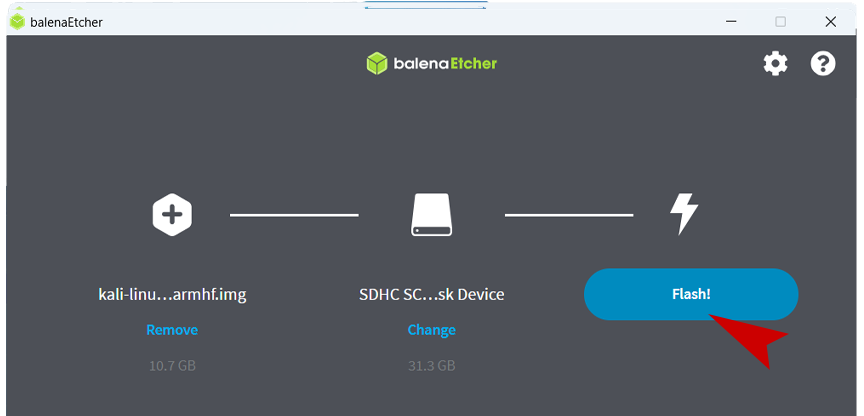
Once you have downloaded and installed Etcher you are ready to flash Kali. Go ahead and connect the sd card that you want to put Kali on and connect it to your computer. Open Etcher up and select flash from file.
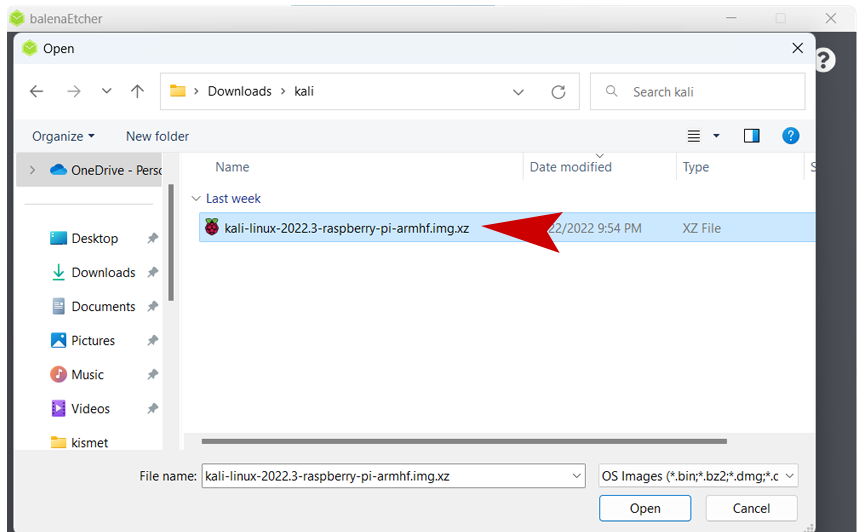
Select the Kali image that you previously downloaded from kali.org.
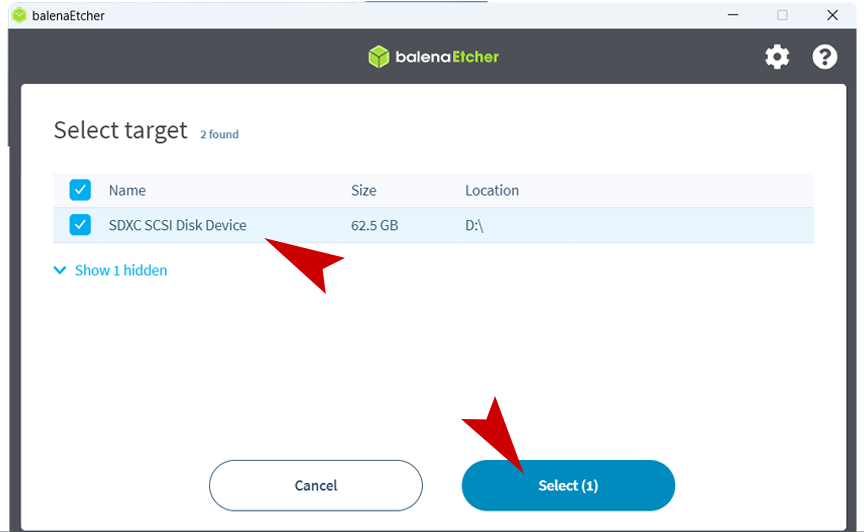
Next click on Select Target. You should see the sd card you connected earlier show up as a target, click on it and than click select.
To finish just click flash, and Etcher will take care of the rest!

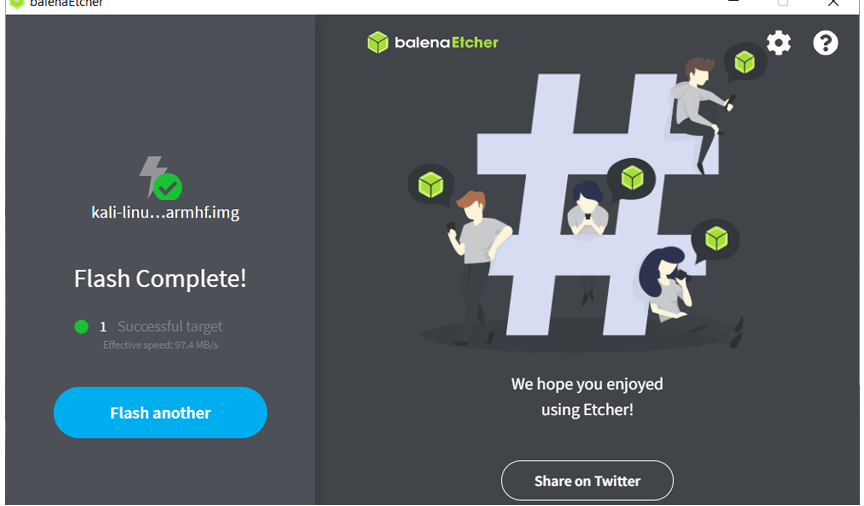
Once you the screen says flash complete you are done! Now all you have to do is put the sd card into your raspberry pi and start it up. Kali is powerful and comes with lots and lots of tools, take some time to explore it and see what it has to offer. No matter what type of hacking projects you are working on, chances are that Kali has a tool for it already installed. Also keep in mind that there are other great linux distros out there that will run on the raspberry pi, such as Parrot and BlackArch. The process for flashing those are basically the same, just download the correct img file to flash and follow the same steps.
Good luck and happy hacking!